Heads up rooing | florida
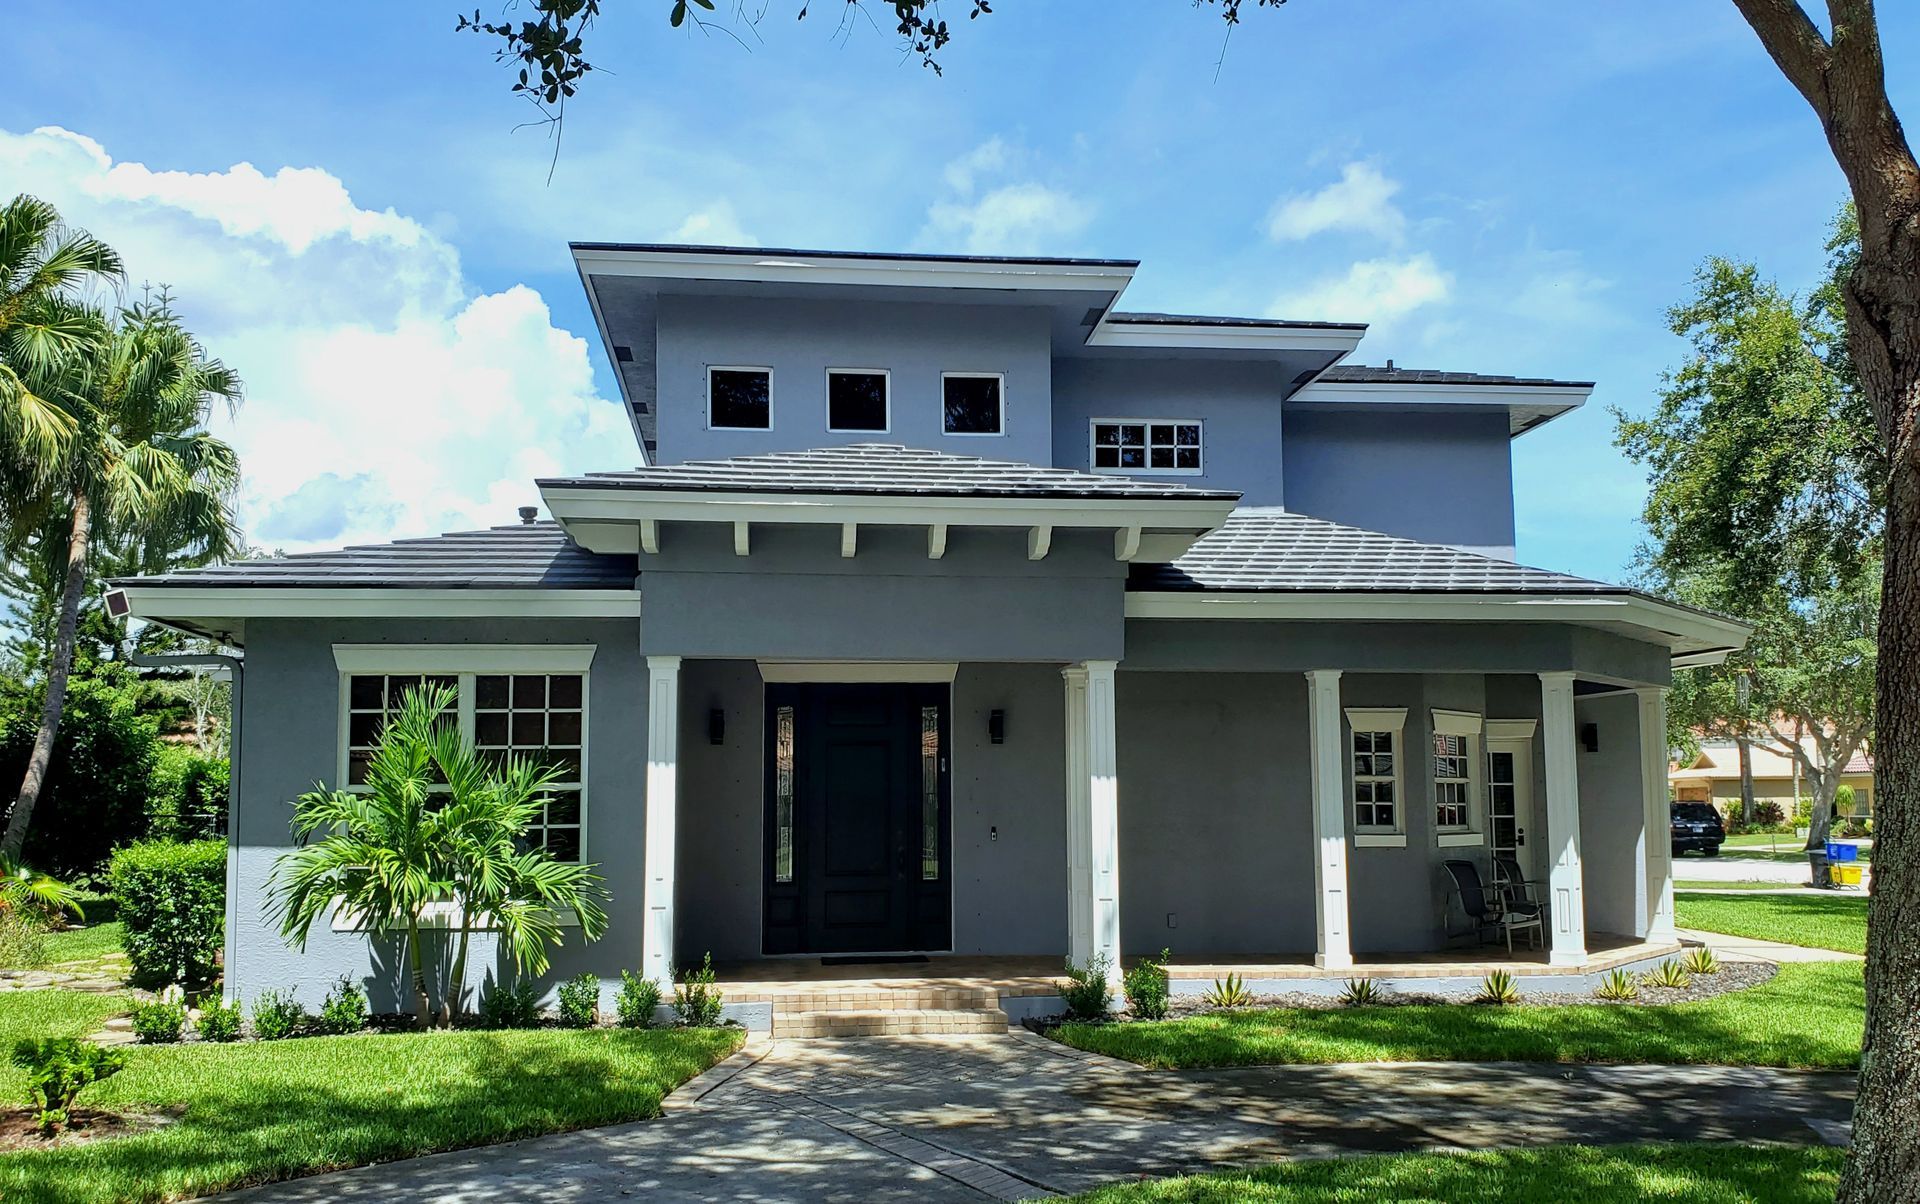
The Importance of Regular Roof Inspections in Florida
regular roof inspection florida
Step-by-Step Guide to Regular Roof Inspections for Your Home
Florida’s weather can be unforgiving, with heavy rains, high humidity, and frequent storms. Your roof takes the brunt of these conditions, and regular inspections are key to keeping it in top shape. As a professional roofer in Florida, I’ve seen firsthand how timely inspections can save homeowners from costly repairs.
Benefits of Regular Roof Inspections:
Preventing Storm Damage Before It Happens
- Hurricane season is a reality for every Florida homeowner. Regular roof inspections, particularly before and after storm season, help identify weak points that could turn into major problems during severe weather.
- A professional inspection checks for loose shingles, damaged flashing, and other vulnerabilities that may not be visible to the untrained eye. Addressing these issues early can prevent leaks, structural damage, and even the need for a full roof replacement.
- It will also provide a detailed list if you need to file an insurance claim.
Extending the Lifespan of Your Roof
- Your roof is one of the most significant investments in your home. Regular inspections ensure that minor issues, like cracked shingles or clogged gutters, don’t shorten its lifespan. In Florida’s high-humidity environment, even small problems can escalate quickly, leading to mold, rot, or pest infestations.
- Scheduling inspections twice a year—once before hurricane season and again in the cooler months—keeps your roof in excellent condition and prolongs its life.
Enhancing Your Home’s Energy Efficiency
- An often-overlooked benefit of roof inspections is improved energy efficiency. Damaged shingles or poor insulation can lead to higher cooling costs in Florida’s heat. An inspection can pinpoint areas where your roof may be letting in heat or moisture, allowing you to make repairs that improve your home’s energy performance.
Step-by-Step Guide to Regular Roof Inspections
Step 1: Schedule Biannual Inspections
When to Inspect: Plan inspections twice a year—before hurricane season (spring) and after hurricane season (fall). Additionally, inspect your roof after severe storms or hurricanes.
Hire a Professional: While homeowners can perform basic inspections, a professional roofer can identify hidden issues that may go unnoticed.
Step 2: Perform a Visual Inspection from the Ground
Tools Needed: Binoculars for a clear view.
What to Look For:
- Missing, curled, or cracked shingles.
- Rust spots or loose screws on metal roofs.
- Broken or dislodged tiles on clay or concrete roofs.
- Sagging areas or uneven rooflines, which may indicate structural issues.
- Debris, such as branches, that may have caused damage.
Step 3: Check Gutters and Downspouts
Why It Matters: Clogged or damaged gutters can cause water to back up onto your roof, leading to leaks or rot.
What to Do:
- Clear debris like leaves, twigs, and dirt from gutters and downspouts.
- Inspect for sagging or loose gutters.
- Check for signs of rust or corrosion.
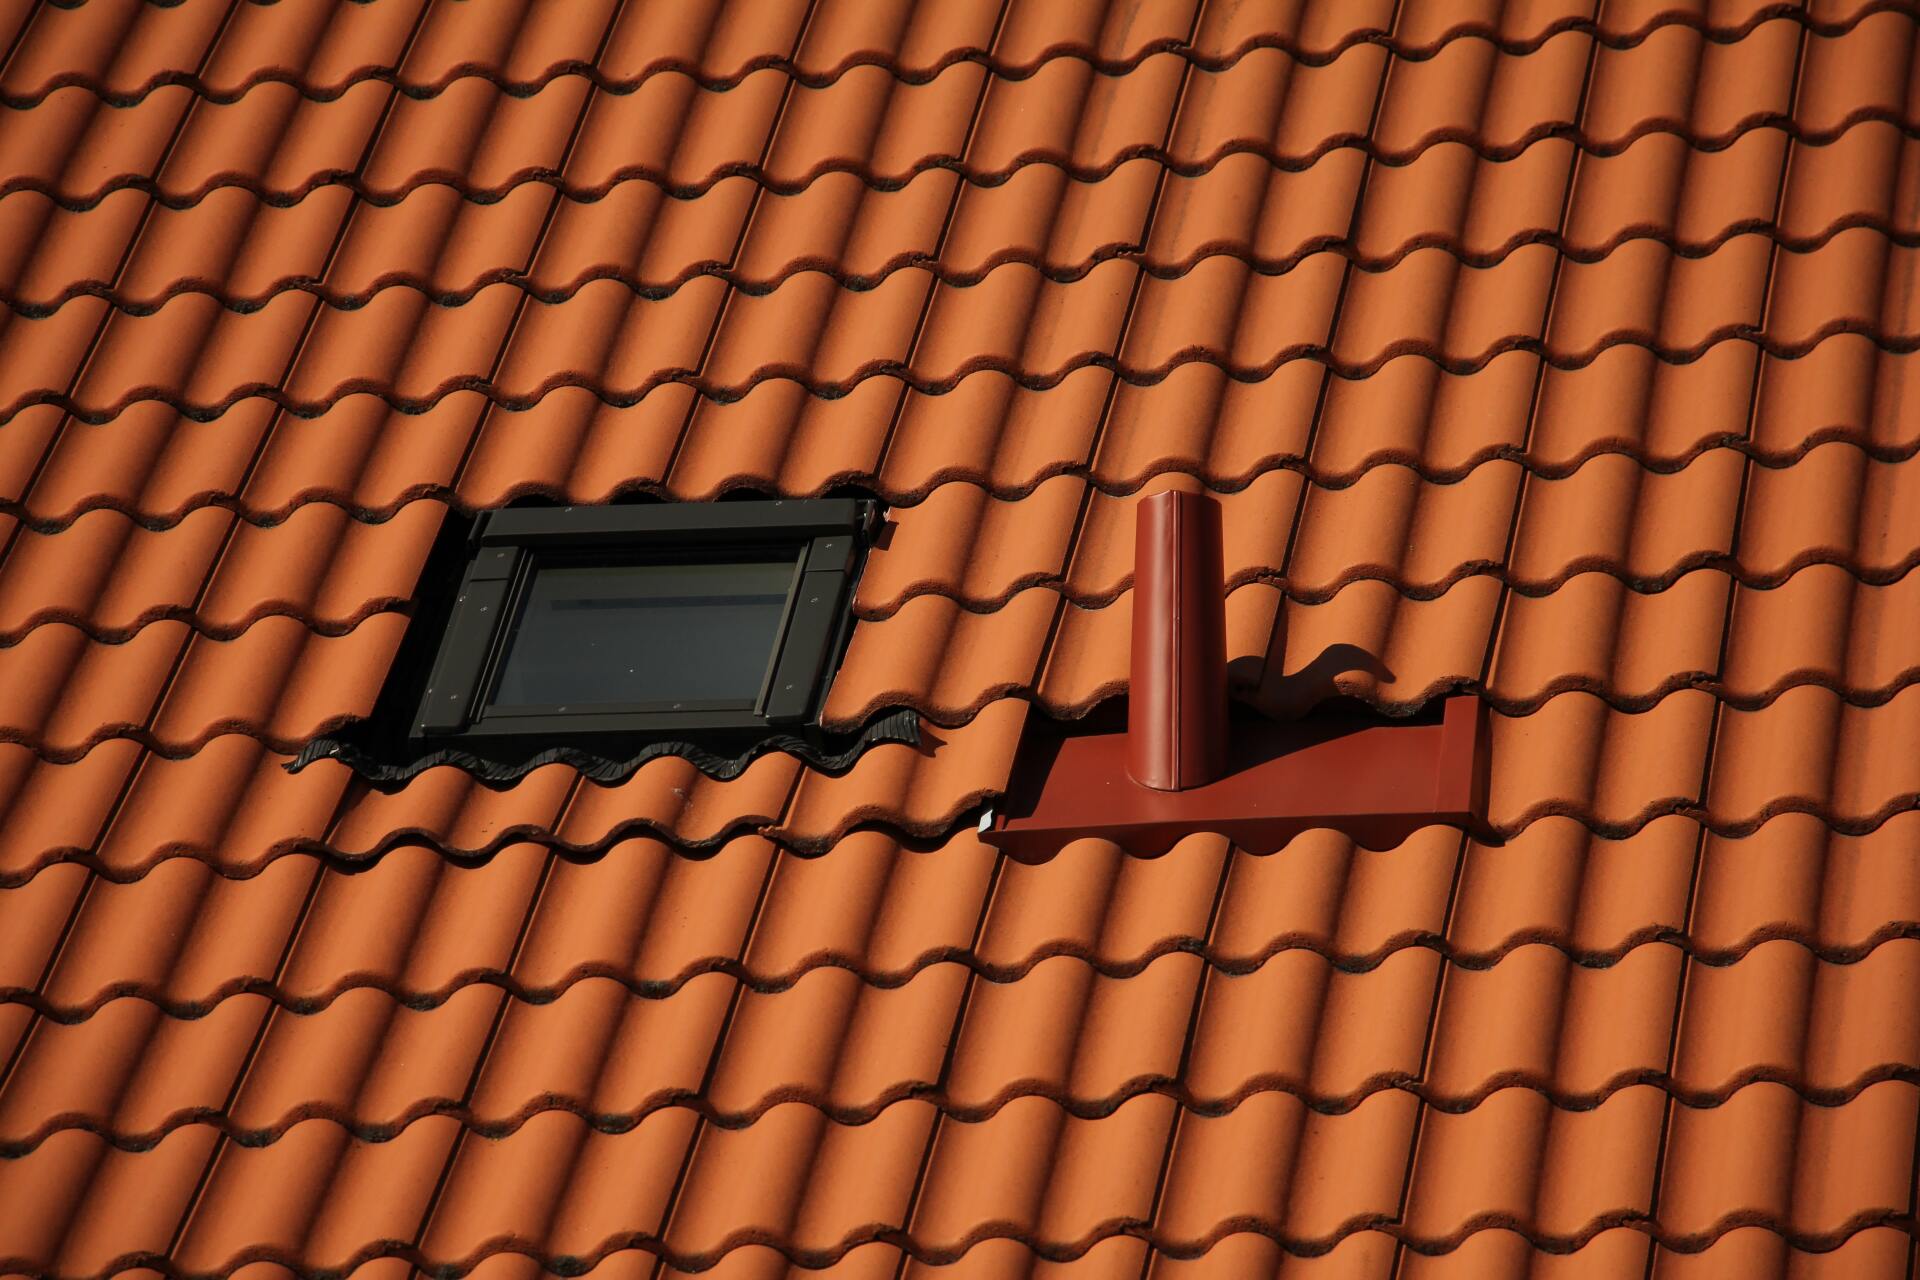
Step 4: Inspect Your Roof’s Flashing and Seals
Focus Areas: Flashing is typically found around chimneys, vents, skylights, and valleys. It seals gaps and prevents water from entering your home.
What to Check:
- Look for cracks, gaps, or rust in the flashing.
- Ensure seals around vents and chimneys are intact.
- Replace or repair damaged flashing to prevent leaks.
Step 5: Look for Signs of Moisture Damage Inside Your Home
Why It’s Important: Interior signs of damage often indicate problems with your roof’s waterproofing.
What to Check:
- Water stains or discoloration on ceilings and walls.
- Peeling paint or wallpaper.
- Signs of mold or mildew in your attic or near rooflines.
Step 6: Inspect the Roof Surface Up Close (If Safe)
Safety First: Only climb onto your roof if you’re comfortable and have the proper safety equipment. Otherwise, hire a professional.
What to Look For:
- Soft spots or sagging areas that indicate water damage.
- Debris such as branches or leaves that may trap moisture.
- Wear and tear on roofing materials, especially in high-sun or shaded areas.
Step 7: Ensure Proper Ventilation
Why It Matters: Poor ventilation can trap heat and moisture, leading to mold growth and higher energy bills.
What to Check:
- Inspect attic vents to ensure they’re not blocked by insulation or debris.
- Look for signs of condensation inside the attic.
Step 8: Document and Address Issues Immediately
Take Photos: Document any damage or areas of concern to share with your roofing professional.
Schedule Repairs: Contact a trusted roofing company, like Heads Up Roofing, to address identified issues promptly.
Plan Preventive Measures: Discuss maintenance options, such as applying roof coatings or installing impact-resistant materials, to prevent future problems.
While you can handle many aspects of a roof inspection yourself, certain situations require a professional’s expertise:
Storm Damage: After hurricanes or severe storms, professional inspections can assess structural damage and help with insurance claims.
Aging Roof: If your roof is nearing the end of its lifespan, a professional can evaluate whether repairs or replacement is the best option.
Safety Concerns: Climbing onto your roof can be dangerous. Leave this task to professionals equipped with safety gear and experience.
Protect Your Investment with Regular Roof Inspections
In Florida’s demanding climate, regular roof inspections are essential for maintaining your home’s safety, comfort, and value. By following this step-by-step guide and addressing issues promptly, you can extend your roof’s lifespan, reduce repair costs, and prepare your home for whatever weather comes your way.
Your roof deserves expert care regular and roof inspections are an essential part of home maintenance for Florida homeowners. They protect your home from storm damage, extend the life of your roof, and improve energy efficiency. Don’t wait for problems to arise—schedule your professional roof inspection with Heads Up Roofing today!
CONTACT US